Ask any electrician what they’d grab first to check current on a live circuit, and nine times out of ten they will point to the clamp meter hanging off their belt.
The versatility of this device is what makes it popular. With a clamp meter, you can measure amps without cutting into a wire, and without shutting anything down; that’s the whole appeal, and it’s why the gadget has become standard kit across electrical work, HVAC, automotive diagnostics, and industrial maintenance, to name a few.
Maybe you’re new to the trade. Maybe you’re upgrading from a basic multimeter. Maybe you just want to know what your workmates keep clamping onto wires all day. Either way, here’s what a clamp meter is, how it works, and how to actually use one.
What is a Clamp Meter?
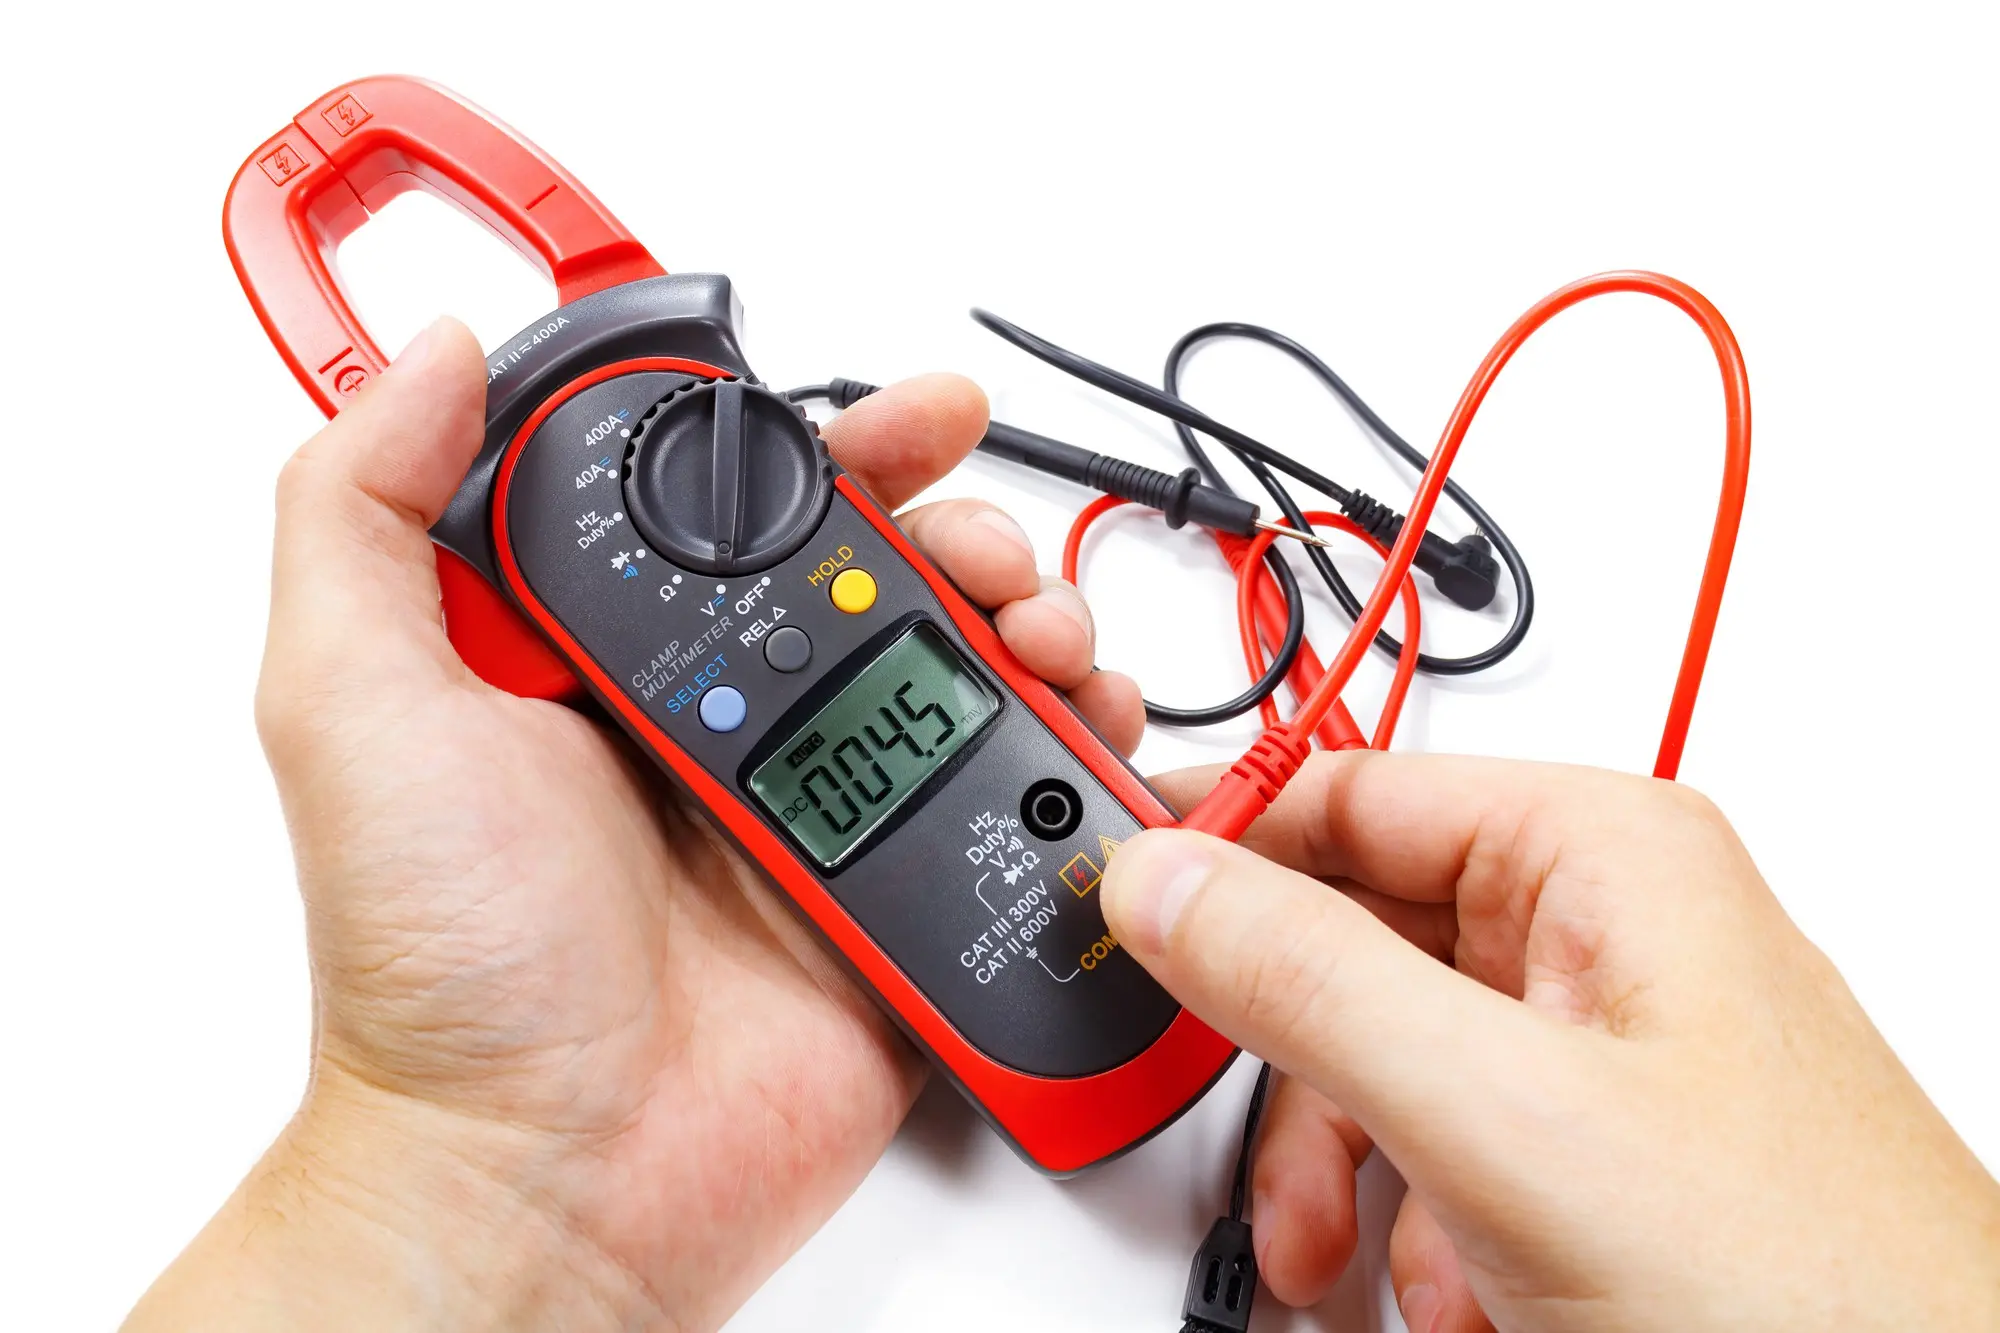
Picture a handheld test instrument with a hinged jaw built into it, one that opens up and closes back around a single wire. That’s the genius of the whole design: there’s no breaking the circuit to get a reading, no wiring anything in series the way a standard multimeter demands; you just clamp around the conductor and read the current straight off the screen, effortlessly.
There’s more, though, to this versatile device; most modern clamp meters pack in added multimeter functions: voltage, resistance, continuity, and sometimes frequency and capacitance; so that what started as a single-purpose tool has turned into something closer to a multi-functional instrument, that’s now an electrician’s best friend.
Hang on a minute, though what’s a tong tester? Older trade terminology refers to clamp testers as tong testers on and off, but it’s the same tool; nothing’s actually changed about its generic purpose.
How Does a Clamp Meter Work?
Our modern clamp meters offer a dual service.
Here’s how it works: when you run current through a conductor, it generates a magnetic field around itself, which is the exact bit of physics a clamp meter is built to exploit. Sitting inside the jaws is a sensor that works as a current transformer for AC work, with a Hall Effect when DC is involved.
The sensor picks up on that magnetic field and turns it into a reading without the meter’s jaw ever making contact with bare copper. The same basic idea sits behind plenty of other non-contact measurement tools. Except that this one’s just been packaged small enough to live on a tool belt.
A current transformer only responds to a changing magnetic field, which means it’s built for AC and simply won’t register DC at all. And Batteries, UPS systems, solar arrays, automotive circuits, or others that call for a meter running a Hall Effect sensor will not benefit from a current transformer. So, it makes sense to carry that one compact AC/DC clamp-on meter that works both ways.
What is it Used For?
Strip it back, and the core job is current measurement without touching or interrupting a live circuit. Beyond that, its one capability spreads to a surprising number of other jobs.
For example, electricians clamp on to check load balance across phases, confirming nothing’s drawing more current than it should. HVAC techs go straight for the compressor circuit to catch in-rush current on startup, or a spike that’s too high or bouncing around, usually when a capacitor’s failing or a motor’s about to give up entirely.
Automotive techs reach for a DC clamp meter to chase down a parasitic battery drain, while industrial maintenance crews lean on them constantly for troubleshooting motors, checking panels, and switchgear without first powering down anything.
How to Use a Clamp Meter, Step by Step
The process is straightforward once you understand the basics, though the details matter for getting an accurate and safe reading.
First, select the right measurement mode: Turn the dial to current, and pick AC or DC based on what’s in front of you. Get this wrong, and while most meters won’t be damaged, they will hand you a number that means nothing.
Open the jaw around a single conductor only: This confuses beginners more than anything else. So the rule is to make sure to avoid clamping both flex wires around two conductors at once, do so and their magnetic fields cancel each other out, leaving you with a reading that’s basically zero and completely wrong. Therefore, the rule is simple: one wire per measurement, absolutely no exceptions.
Centre the conductor in the jaw: Most meters have alignment marks for a reason. A wire sitting off to one side of the jaw can throw off accuracy even when everything else is done correctly.
Wait for the reading to settle, then note it: Auto-ranging meters handle range selection automatically. Manual-range meters need the range set higher than expected before you clamp on, since a range set too low can damage the instrument.
Use the probes for voltage, resistance, or continuity: The jaw only handles current. Everything else runs through the same test leads and input jacks for standard multimeter uses.
Clamp Meter vs Multimeter
They overlap, but they’re built for different jobs.
Feature
Clamp meter
Multimeter
Current measurement
Clamps around a conductor, no circuit break needed
Must be wired in series, circuit interrupted
Best for
High current, live circuits, quick diagnostics
Precise low-current, voltage, and resistance readings
Typical accuracy
Good, though usually slightly lower than a dedicated multimeter
Higher precision for fine measurements
Safety advantage
No contact with live conductors during current tests
Requires breaking the circuit to measure current
Most electricians end up carrying both, reaching for the clamp meter on live current checks and the multimeter when precision matters more than speed.
Who’s Allowed to Use One in NZ
The meter itself doesn’t require a licence. Pick one up, clamp it around a wire, and troubleshoot a fault; none of which needs any kind of registration behind it. Technicalities come in once you’ve found the problem because it all narrows down to what you’re allowed to do to fix it.
In New Zealand, touching fixed wiring in any real sense, altering it, repairing it, installing it, falls under Prescribed Electrical Work as defined by the Electricity Act 1992, and the Electrical Workers Registration Board doesn’t leave much room for interpretation on this: only someone holding a current practising licence can carry out or supervise that work.
So in practice, plenty of people without that licence are using clamp meters daily: such as apprentices, HVAC techs, automotive diagnostics staff, and industrial maintenance crews; all right alongside registered electricians.
While the diagnosis is open to all of them, fixing what the meter discovers on fixed wiring isn’t; that part stays with whoever is actually licensed for it, not whoever happened to be holding the tool.
How to Choose the Right Clamp Meter?
Jaw size needs to match the conductors you’ll be working with. An oversized industrial cable needs a bigger jaw opening than standard residential wiring. Also, current range matters just as much, because buying a meter rated well below the current range you’re measuring is a fast way to damage it.
Safety category rating is worth understanding properly rather than skimming past. CAT ratings, defined under IEC 61010, describe how much transient voltage a meter is built to withstand safely at different points in an electrical system, with CAT III and CAT IV covering higher-risk environments like distribution boards and utility connections. That’s why using a meter rated below the environment you’re working in isn’t just a minor technicality; it’s a real safety gap.
Where Electrotest Fits In
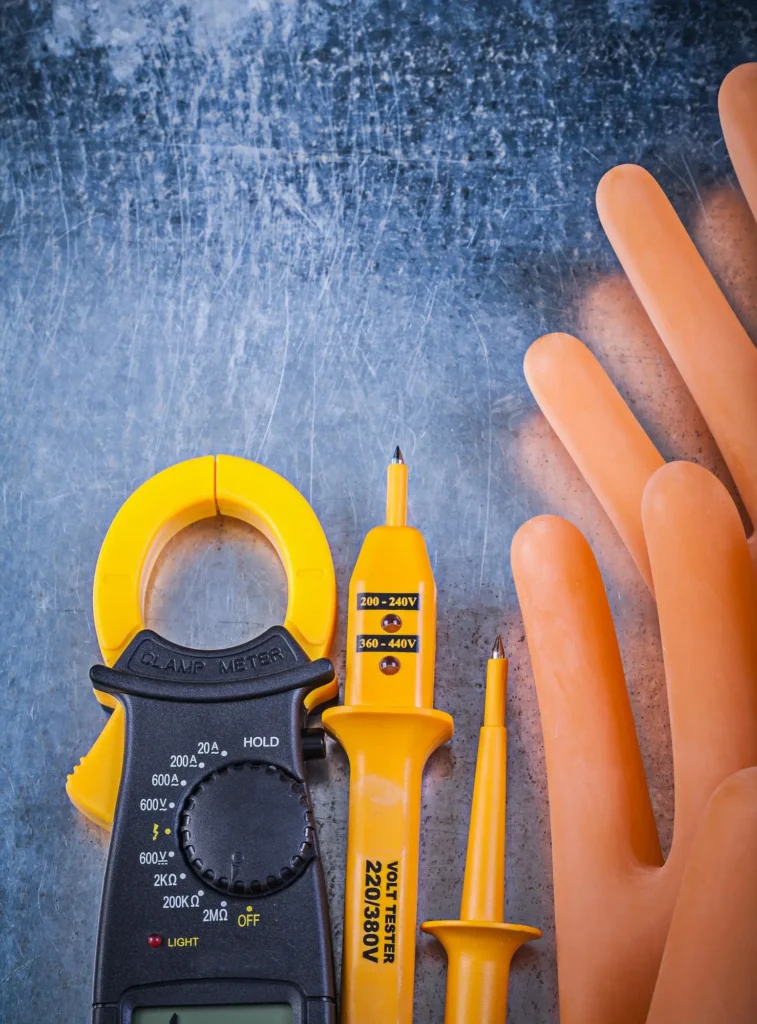
We stock a full range of clamp meters alongside multimeters and voltage testers, and everything from entry-level units up to CAT IV-rated instruments built for utility and industrial work.
If you are just starting out, our apprentice kits bundle the essentials, so you’re not guessing what you actually need, while our training courses cover the practical side of using this gear properly, not just the theory behind it.
Not sure which meter fits the work you’re doing? Get in touch, and we’ll sort you out.
A voltage reading tells you a number. An oscilloscope tells you a story. Where a multimeter gives you one static figure, a scope plots voltage against time, continuously, so you actually see how a signal behaves. That difference matters more than most beginners realise. A motor might show a normal average current on a multimeter and still be throwing a nasty voltage spike every few milliseconds. A multimeter won’t catch that. A scope will show it plainly, right there on
Understanding electrical rules helps keep people safe in their homes and workplaces. In Auckland, these rules are part of New Zealand law and make sure that electrical work is done properly. Electricity can be dangerous if it is not handled correctly. That is why there are codes that explain how wiring, switches, sockets and electrical gear should be installed and tested. If you are buying electrical supplies in Auckland or planning work in your home, you need to know how
Electrical safety is more important than ever, especially in homes, workplaces, and industrial settings. Faulty insulation in wiring can lead to shocks, short circuits, or even fires. That is why insulation resistance testing is essential. It helps identify weak or damaged insulation before any serious accidents occur. In New Zealand, electricians and building managers rely on proper testing to make sure installations are safe and compliant. Using the right procedures, tools, and quality electrical supplies in Auckland ensures circuits are correctly
Electrical work can be dangerous if it is not done safely. Without proper safety compliance, there could be shocks, fires, equipment damage, or even serious injury. Faulty wiring or damaged appliances can start accidents that are costly and dangerous. In this blog, we will explain electrical safety compliance in New Zealand so you can handle advanced electrical equipment. We will cover the rules, standards, requirements, and best practices that help keep people and property safe. By the end, you will
Share:
Frequently Asked Questions
Measuring electric current, mainly, without breaking or disconnecting the circuit to do so. Clamp the jaw around a single conductor and the meter reads current straight off the magnetic field it generates, which is exactly why it’s become the go-to for checking live circuits fast across electrical, HVAC, automotive, and industrial work.
Set the dial to AC or DC, open the jaw, and clamp it around one conductor. Never two wires at once, because that cancels the magnetic field and hands you a false reading. Line the wire up with the alignment marks in the jaw, let the display settle, then note what it says.
Yes, it can; most on the market today pack in full multimeter functionality alongside the clamp itself. Voltage, resistance, continuity, all of it runs through the probes and input jacks rather than the jaw, since the jaw’s only job is current.
An AC clamp meter runs on a current transformer, which only picks up a changing magnetic field, so DC doesn’t register at all on it. Swap in a Hall Effect sensor instead, and you’ve got a DC-capable meter, one that reads the steady field a direct current produces, which is what you need for batteries, solar, or anything automotive.
No, not for using the meter itself, because diagnostic measurement doesn’t require a licence.
What does matter are the Prescribed Electrical Work limits, defined under the Electricity Act 1992, on altering, repairing, or installing fixed wiring, which is restricted to only someone holding a current practising licence from the Electrical Workers Registration Board, either doing the work themselves or supervising it.
Depends entirely on where you’re taking the measurement. CAT III covers distribution-level work, panels, fixed installations, that sort of thing, while CAT IV steps up to the origin of the supply itself, utility connections and main service entrances. Grab a meter rated below the environment you’re actually working in, and you’re not cutting a corner; you’re creating a real safety gap.
A clamp meter earns its spot in a tool bag for one simple reason. It shows you what a live circuit is doing without needing to shut it down or cut into it first, and once you understand what’s happening inside that jaw, choosing the right one and using it properly stops being guesswork entirely.
Stay in the loop for our new SPARKvue for Teachers Training Course launch!
Stay in the loop for our new Introduction to High Voltage Course launch!
Stay in the loop for our new UPS Installation & Commissioning Course launch!